Your first invoice
This tutorial walks you from a fresh ClientOS account to your first issued GST invoice with a payment recorded against it. It takes about five minutes. You only need to be signed in; everything else is created along the way.
The same three building blocks (clients, catalog items, documents) power every other document in ClientOS, so once you finish this page you already know most of the daily flow.
1. Add your client
Every document starts with a party: the person or business you sell to or buy from.
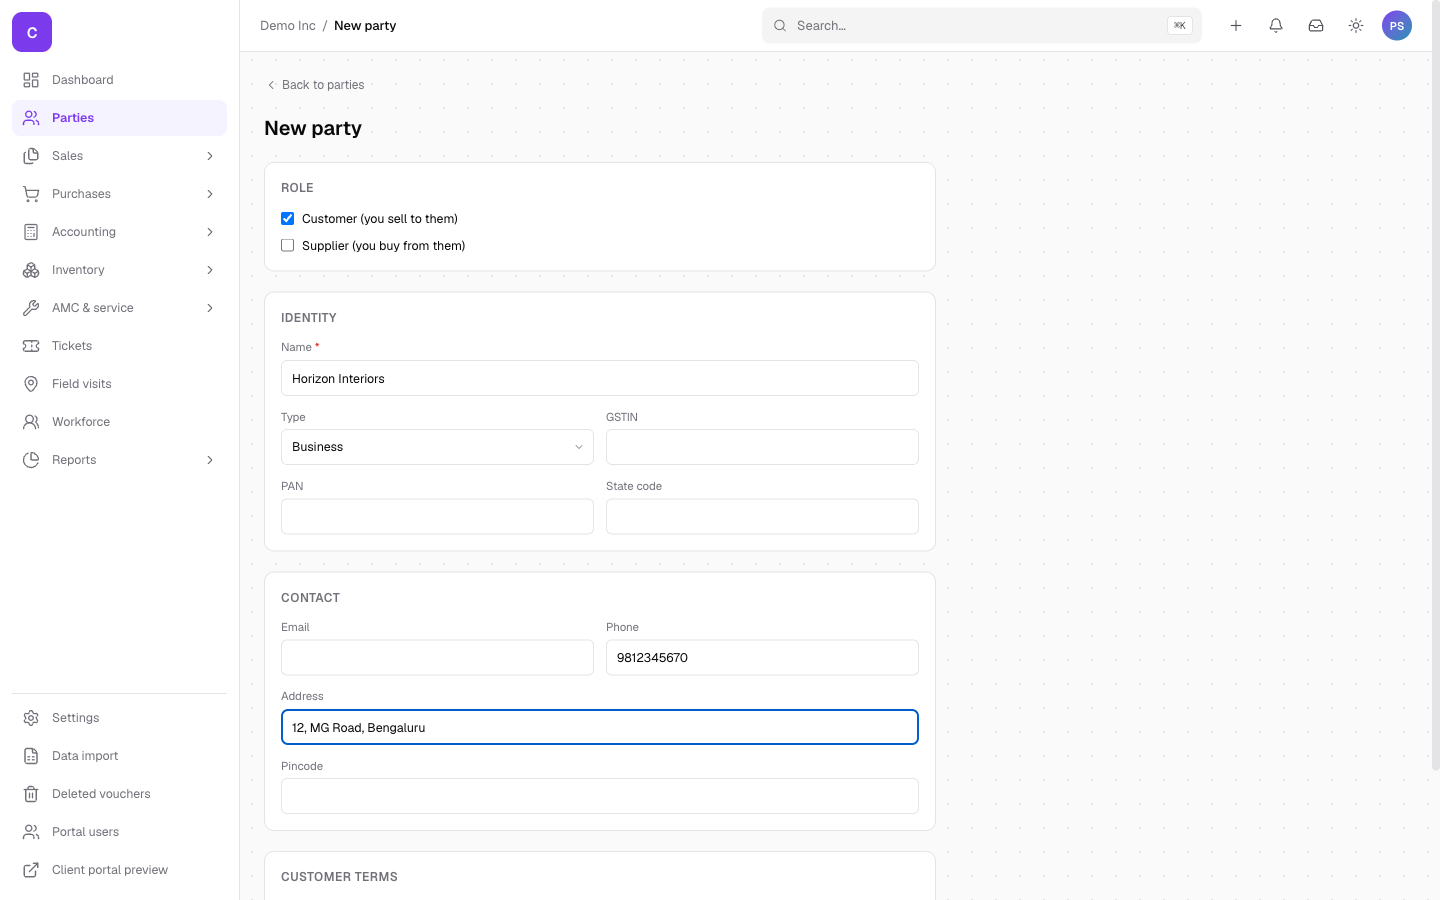
- In the left menu, open Parties and click New party.
- Under Role, tick Customer (you sell to them).
- Enter the client's Name. Phone, email and address are optional but useful later, because they appear on documents and in reminders.
- If the client is GST registered, paste their GSTIN; ClientOS reads their state from it automatically. If they have no GSTIN (a retail customer, for example), leave it blank.
- Click Create party.
You land on the client's own page. Every quotation, invoice and payment for this client will show up here.
2. Add a catalog item
Items you sell live in the catalog, so their price, HSN code and GST rate are typed once and reused on every document.
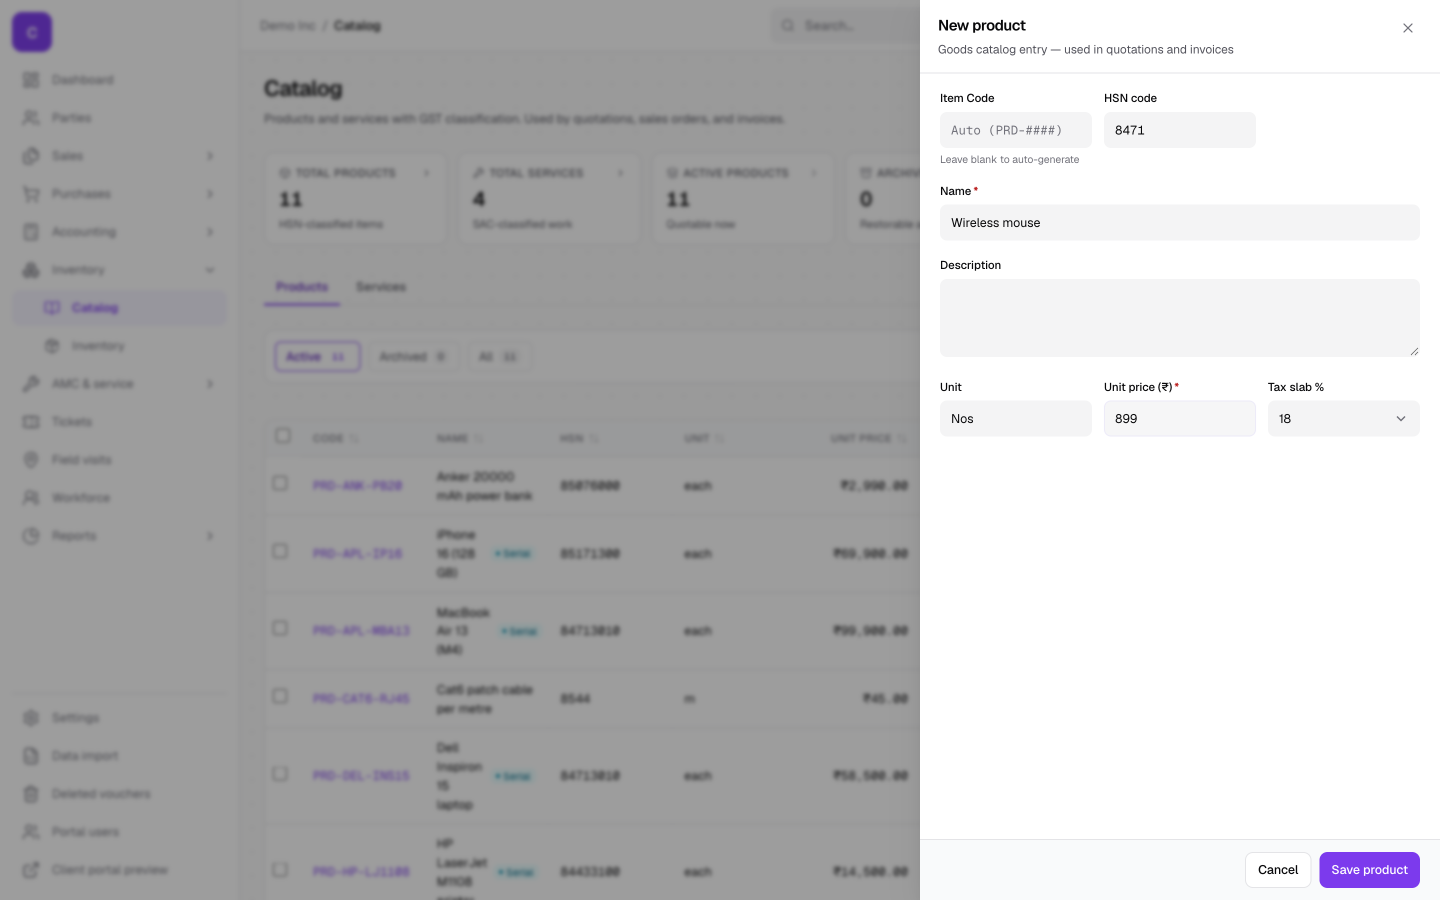
- In the left menu, open Inventory, then Catalog, and click New product.
- Enter the Name and the Unit price. The price is what you charge before GST.
- Add the HSN code if you know it (your accountant or the GST portal can tell you), and the Unit you sell in, for example Nos.
- The Tax slab is preselected from your settings; change it if this item is taxed differently.
- Click Save product.
Leave Item code blank; ClientOS numbers products for you.
3. Create and issue the invoice
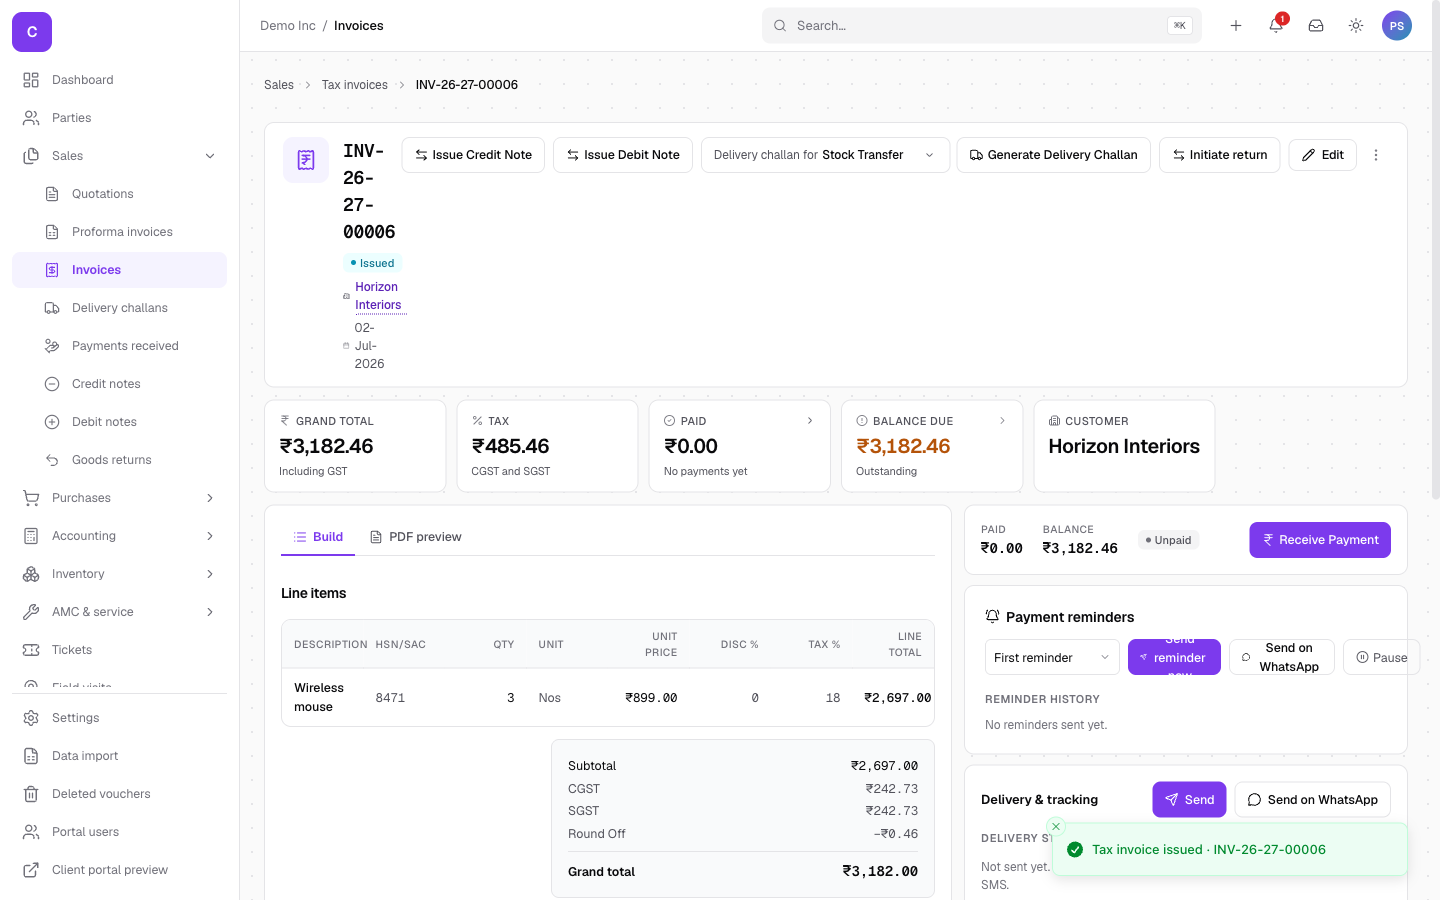
- In the left menu, open Sales, then Invoices, and click New tax invoice.
- Pick your client in the Customer box; start typing the name and choose from the list.
- If the client has no GSTIN, a Place of Supply box appears. Enter the two-digit state code where you are delivering (for example 29 for Karnataka). ClientOS uses it to decide between CGST plus SGST and IGST; you never pick tax types by hand.
- On the first line, pick your catalog item the same way, then set the Qty. Rate, HSN and GST fill in from the catalog, and the totals at the bottom update as you type.
- Click Save & issue.
Issuing is the moment the invoice gets its number. If you are not ready, use Save draft instead: a draft has no number, prints only as a watermarked preview, and can still be changed or discarded. Once issued, the number is on the statutory series, so an issued invoice can be cancelled but never deleted.
4. Record the payment
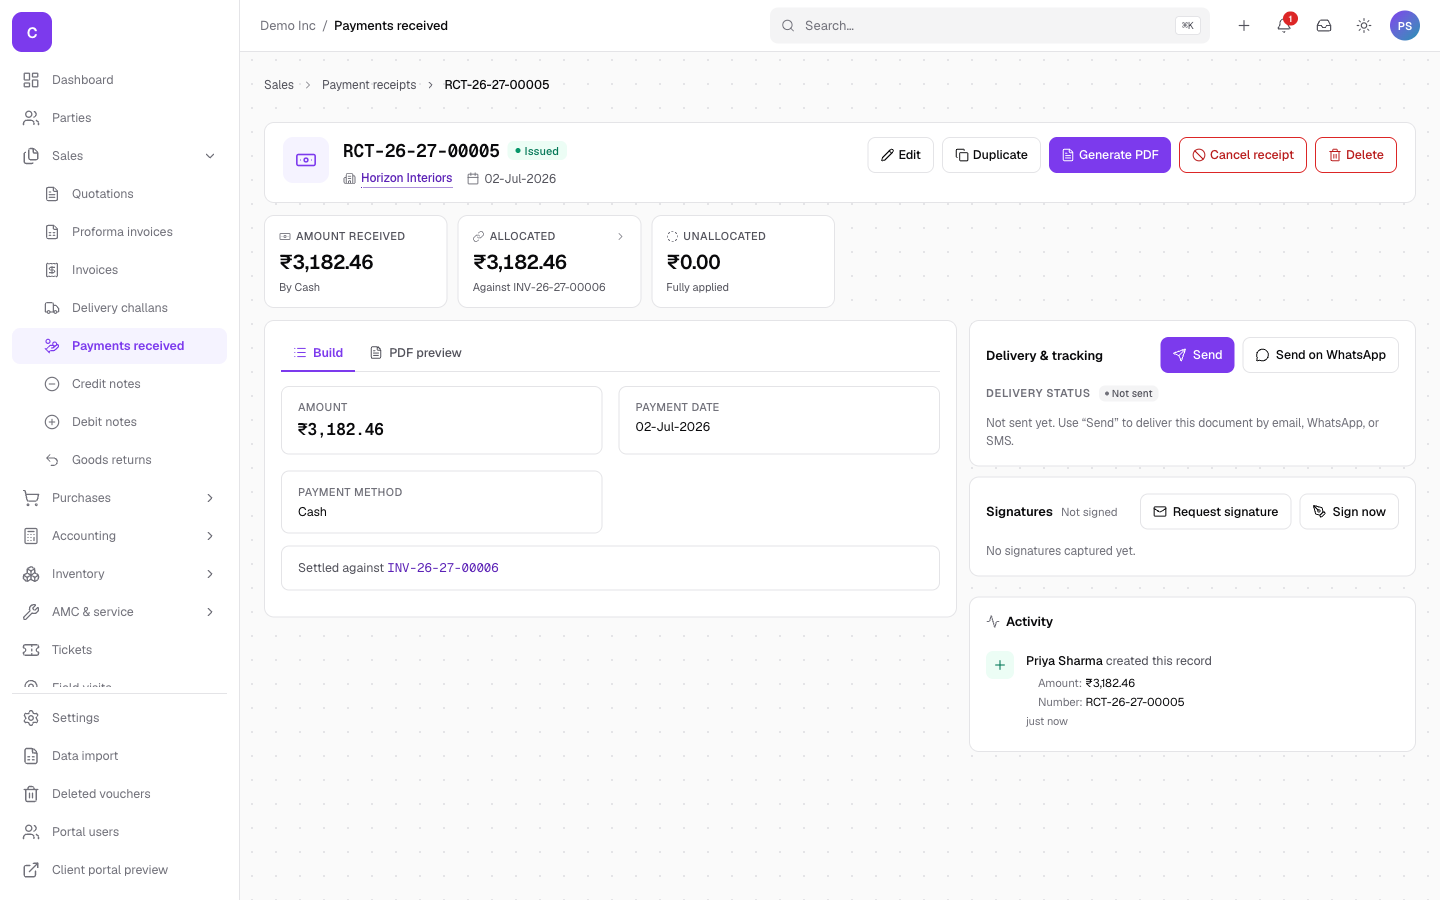
- On the invoice page, find the payment panel on the right and click Receive Payment.
- The receipt form opens with the client and the outstanding amount already filled in.
- Pick the Payment method. For any method other than cash, also pick the bank or cash account that received the money.
- Click Record receipt.
The invoice now shows as paid, and the receipt appears both under the invoice and on the client's page.
Where to go next
- Quotations follow the same create-and-issue flow; you can convert an accepted quotation into an invoice in one click.
- The guides cover each module in the same style as this page.
- Stuck? Check troubleshooting or the FAQ.