Purchases
The purchase side mirrors sales: everything lives under Purchases in the left menu, and the documents chain together. A purchase order goes to the vendor, goods arrive against it, the vendor's bill is recorded and verified, and payment settles the bill. You can also start anywhere in the middle; a direct purchase does not need a purchase order at all.
Purchase orders
Open Purchases, then Purchase orders, and click the new button. Pick the vendor, add catalog lines, and finish with one of:
- Save draft: no number yet, keep editing or discard it.
- Save & approve: approving locks the line items, assigns the PO number and makes it ready to send.
From the purchase order's page the buttons walk you through its life:
- Send to vendor opens a small panel to email or WhatsApp the PO, with the PDF attached.
- Mark acknowledged records the vendor's confirmation along with their reference number.
- Receive goods appears once the PO is acknowledged, and starts a goods receipt.
A purchase order stays editable until goods are received against it.
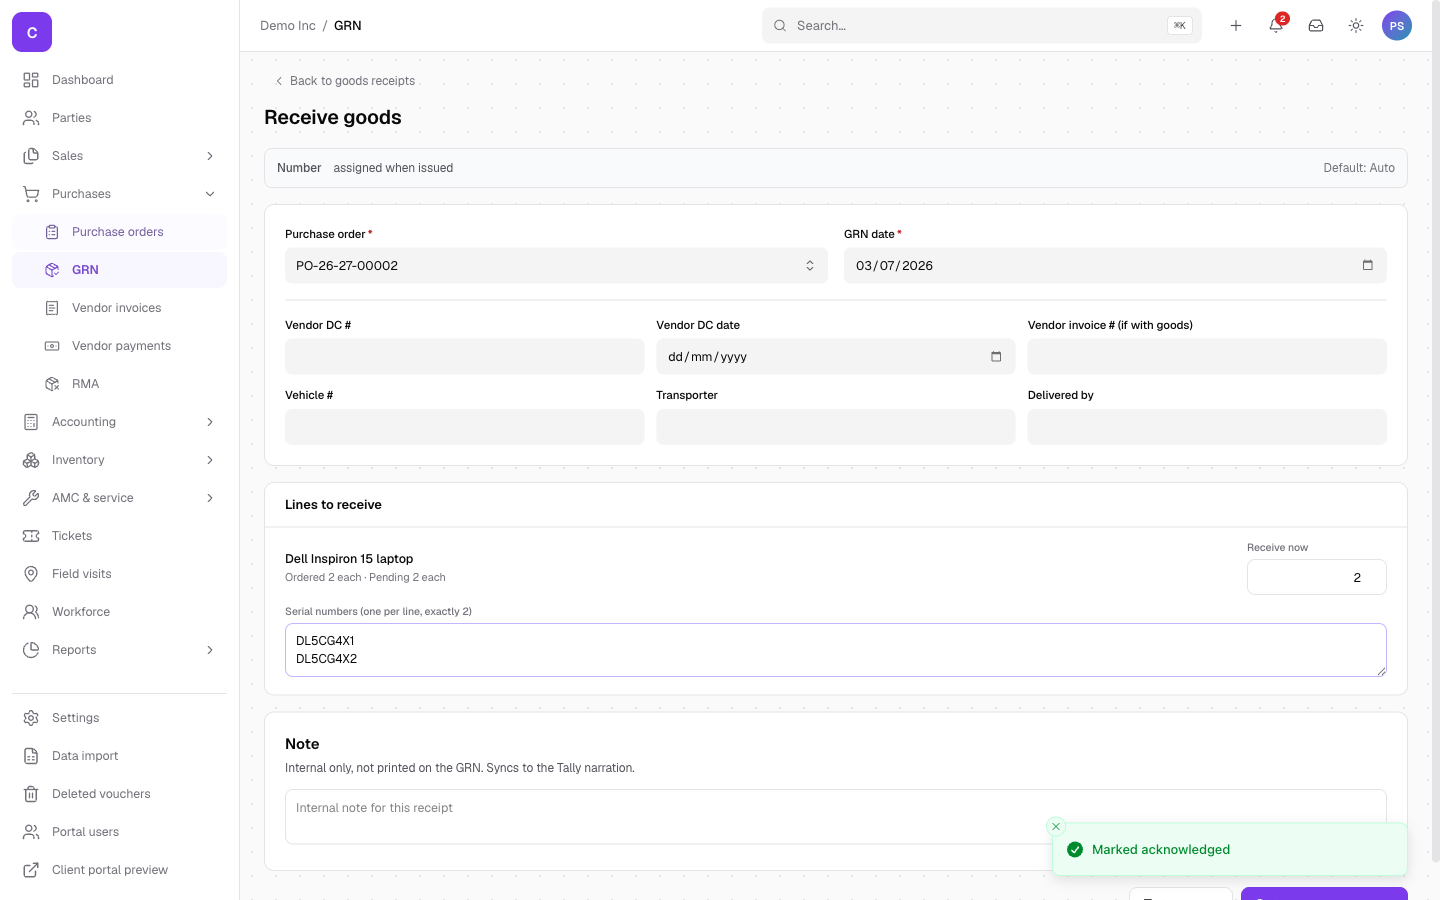
Receiving goods (GRN)
Click Receive goods on the purchase order (or open Purchases, then GRN, for a fresh one). The receipt form lists the PO's pending lines:
- Receive now is pre-filled with the full pending quantity; lower it for a partial delivery. You can receive the rest on another GRN later, and the PO tracks how much has arrived.
- Items that are serial-tracked ask for the serial numbers, one per line, exactly as many as you receive. Batch-tracked items ask for the batch number and expiry. This is what powers warranty and stock tracing later.
- Save & mark received books the goods into stock. Save draft parks the receipt without touching stock.
Vendor bills
When the vendor's invoice arrives, record it under Purchases, then Vendor invoices:
- Pick the Vendor; their saved address appears alongside.
- Link the Purchase order if there is one (the box says "No PO (direct purchase)" otherwise) and tick the goods receipts the bill covers.
- Enter the Vendor invoice # exactly as printed on their bill; that is how you and the vendor will reconcile later.
- Add the lines with the bill's own rates. Prices here are what the vendor charged you, which is why they are typed rather than pulled from your sell-side catalog prices.
- Save draft keeps it for review; Save & verify confirms the figures match the PO and receipts, assigns the internal number, and books the bill as payable.
Stock is never double-counted: if a goods receipt already brought the items in, verifying the bill will not add them again; a direct bill with no receipt adds its own stock.
A verified bill stays editable until a payment is recorded against it.
Paying the vendor
On the bill's page, click the payment button (it opens the payment form with the vendor and outstanding amount filled in), or start from Purchases, then Vendor payments. Pick the payment method and the bank or cash account the money left, add the reference number, and click Record payment. If you deduct TDS, switch on the TDS section and the deducted and net amounts are worked out for you.
Returning goods to a vendor (RMA)
For defective or wrong goods going back, open Purchases, then RMA, and raise a return against the vendor with the items and reason. The RMA tracks the return until the vendor replaces, repairs or credits it.
Good to know
- You can also photograph or upload a vendor's bill and let ClientOS read it into a draft for review; see the data import guide once it is published.
- The purchase order page always shows the receipts and bills raised against it, with how much of the order has been received and invoiced so far.